Have you seen Elementor?
Our flagship product, Layers has been acquired by the team at Elementor.
With a powerful, fast page builder, Elementor is the best way to get your site online with as little effort as possible.

This theme has been retired and is no longer being actively developed. Don’t worry, it should still work for some time and will continue to receive critical updates for up to one year from your original purchase date. Learn More Here
Start by clicking on in the left-hand admin menu.
All Obox Themes come with some General options for setting a custom logo and favicon, configuring which meta to show, and other customization options like fonts, social media and more.
Below is an overview of each option:
Custom Logo
![]()
This option allows you to upload a Custom Logo to replace the default theme logo or banner. The dimensions are purely up to you, however it should not exceed 940 pixels wide, or 300 pixels tall. Click on Browse to upload an image file from your hard-drive, or enter the URL of your image file if it is hosted elsewhere.
You can upload as many logos as you like and then simply switch to the one you like best by clicking on the thumbnail. WordPress accepts .jpg, .png and .gif.
Custom Favicon
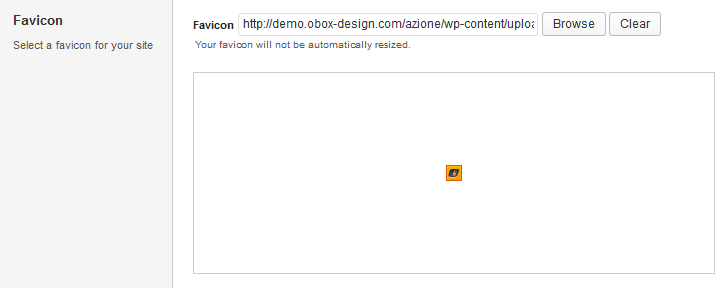
This option allows you to upload a favicon, which is the tiny icon displayed in the browser address bar when visitors view your site. The dimensions should be 16 x 16 pixels. Click on Browse to upload an image file from your hard-drive, or enter the URL of your image file if it is hosted elsewhere.
You can upload as many logos as you like and then simply switch to the one you like best by clicking on the thumbnail. For best results, your favicon should be a .gif or .ico. You should not use a .jpg as it will probably not display.
Internet Explorer has special requirements for favicons. If your custom favicon does not display in IE versions prior to IE10, check this walkthrough.
Custom Login Logo
This field is used just like the custom logo and favicon uploaders. Recommended dimensions are 326pxwide by 82px tall. This logo appears above the WordPress login form when you access the admin panel.
Thumbnail Options
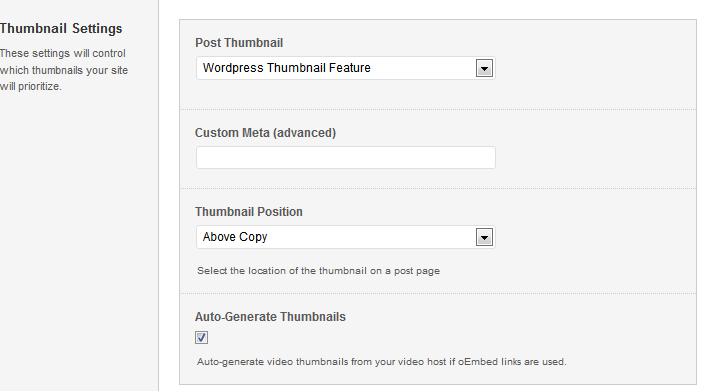
The Thumbnail Settings menu allows you to designate which option you want to use to manage the dynamic image features of the theme.
Post Thumbnail
The Obox Main Image option will grab the thumbnail uploaded using the Browse button under the post editor in the theme’s Settings panel Image field.
The WordPress Thumbnail Feature tells the theme to use the inherent WordPress image resizing capabilities via the Set Featured Image option in your post editor and is recommended.
With WordPress 3.5+, our newer themes use the WordPress image handling method, so this setting has little bearing on how images appear in your widgets. The Obox Main Image sets your WordPress Featured Image automatically and can be a quicker upload when creating posts.
Custom Meta (advanced)
For those of you who are switching to this theme from a theme that had a special custom image field, the Custom Image Meta option allows you to enter the field name into the Custom Meta field to attempt to pull in your existing featured images. The full image path must be set in your field for this option to work, ie http://www.yoursite.com/wp-content/uploads/etc/image.jpg.
Thumbnail Position
Choose to display your thumbnails on posts above the content (called copy for news sites) or within the content and to the right.
Auto-Generate Thumbnails
If using oEmbed links for featured videos, leaving this option checked will pull in the featured thumbnail automatically in your archives, blog and category pages. oEmbed thumbnails are generated automatically in widgets if you select the Post Featured Image thumbnail option in the widget.
Full Posts or Excerpts?
Select whether to show full posts or excerpts in your archives/ blog list. If you use the More tag in your posts, content will be clipped at the point you designate and a “More” link inserted.
Post Meta
The Post Meta section allows you to enable (check) or disable (uncheck) various elements that appear on your posts and pages. By default, all elements are enabled.Date
- Date – Uncheck to hide the date on posts and in archive lists
- Social Sharing in Posts – Uncheck to disable sharing on posts
- Social Sharing in Pages – Uncheck to disable sharing on pages
- Post Author – Uncheck to hide the Author box below the post
- Author Link – Uncheck to hide the Author link under the title.
- Tags – Uncheck to hide Tags on single posts
- Comments Link – Uncheck to disable the comments link
- Next & Previous Post Links – Uncheck to hide the post navigation at the top of single posts
Custom Styling
Custom CSS
Enter changed classes from the theme stylesheet, or custom CSS here. This field saves styles through theme updates and re-installs, and is the recommended method for customizing the theme over editing the stylesheets or using the custom.css file.
Social Widget Code
Add your own template tag or social widget code from a plugin or social sharing provider. By default, the theme is using AddThis. Follow the providers instructions for “manual placement” or adding the widget to your website. Custom code replaces the theme default links.
Custom RSS URL
Enter the url to a custom RSS feed URL such as Feedburner. If you are not using a special RSS manager, you can leave this blank
Custom Footer Text & Hide Obox Logo

The Custom Footer Text and Hide Obox Logo section give you some control over the copyright area of the footer. All of our themes come with an Obox Logo at the bottom right of the footer. To switch this off, simply uncheck the box (although you get extra awesome points for leaving it on!) Replace our default copyright text with your own. For example: “Copyright © YourSiteName”. Don’t put code in this box, it won’t work!
Site Analytics

If you would like a quick and painless way to implement Google Analytics, paste your preferred tracking code into this text area. Your code will then be insterted into the footer of the theme, which is best for performance reasons. If you would like your code in header, then you will need to insert it into the Theme Header under Appearence → Editor.
Save your options by clicking the Save Options button in the top-right or bottom-right corner.

