The Solution
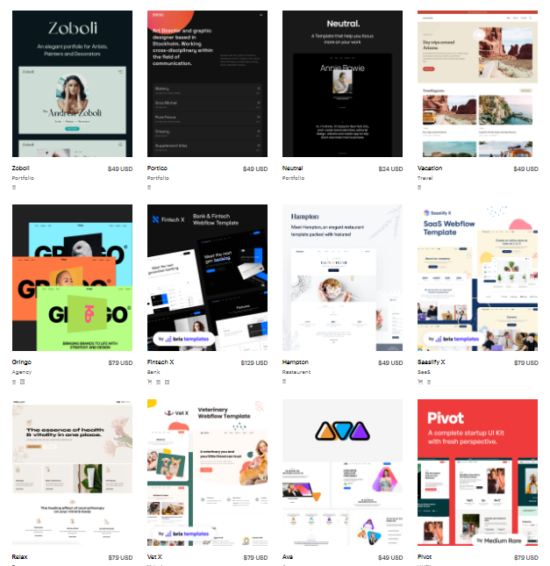
If you are short on time, or just need some design inspiration, Webflow templates can be a great way of jump-starting your website.
It’s essential to be familiar with the basics of Webflow in order to make the most out of templates. We have curated a comprehensive guide to help you. This guide will give you an overview of Webflow’s UI and basic building blocks. It also covers positioning and layout basics.
Already know how to use Weblfow templates? Click here to go directly to the template you need
Free Templates | Portfolio Templates | eCommerce Templates | Agency Templates | CMS Templates
1. Learn how Webflow templates work
Webflow provides a wide range of responsive templates that are free for personal and business use.
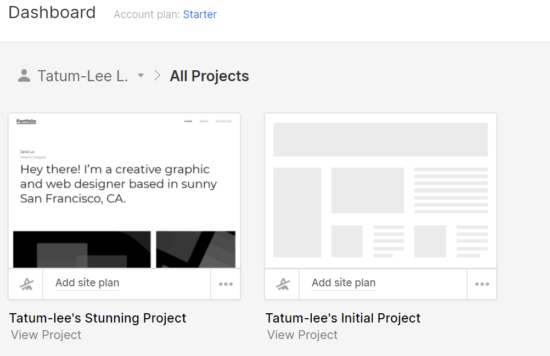
After you have selected a template (free or premium), it will be added as a new project to your Dashboard. It will contain all pages from that project. You can modify your template as many or as few times as you wish.
2. Use your template to get started
Webflow themes are a feature that can be used to style your designs if you have used it before. Webflow themes can be used to modify data and content that is already in a Webflow design.
Webflow templates are different from Webflow themes. A Webflow template’s design and layout will not replace your existing website or project. Templates are provided as-is, but may need to be customized.
You can also migrate CMS data from your account or copy and paste elements of other projects to speed up the customization.
3. Import limits for collection items
You may need to upgrade or add a CMS to your site plan if your template-based project does not have a Business site plan or CMS. You can check the collection item limits for each hosting package.
4. Limitations on page
You can only edit 2 pages if you have a Webflow Starter account and your template-based project doesn’t have a Site plan. You can still access the paid templates pages and edit them, unless you delete them. You can’t duplicate pages or add new pages to a template-based project without first upgrading to an account plan or adding a site plan.
You can customize pages from the template even if you don’t want to add a site plan to your template-based project.
5. Support for templates
Templates that have many interactions, custom menus, and popup modals can be difficult to edit if you’re new to Webflow. If you have any questions about your template, the designer can help you (many template designers provide help documentation).
- Get support from the template designer
- Go to the template’s page on Webflow’s template marketplace
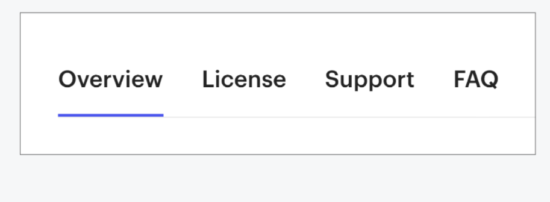
- Scroll down until the template overview is visible (the template designer may have additional support instructions in this area).
If the template designer doesn’t have any support instructions in the Overview area, click the Support tab and leave a comment for the designer
6. Take note of templates and licenses
All templates purchased come with a single-use license. This means that you can only use the template in one project. You will need another license if you wish to use the purchased template for another client or project.
Duplicating your template is an option.
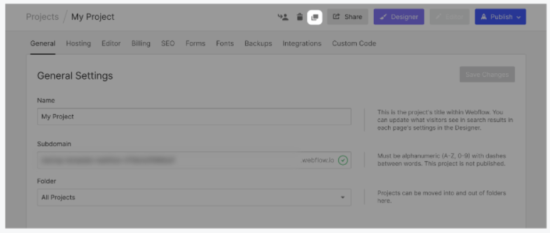
Navigate to the settings of your template-based project
Click on the “duplicate icon” to learn more about duplicate projects
You can choose whether you want the template for the same client/project (you don’t have to repurchase it), or for a new client/project (you will need to repurchase it).
You can modify all templates (text, images, layouts, designs, etc.) You can customize the templates to meet your needs.
7. Test templates before purchase
You can preview a template in the Designer before committing to its purchase. We highly recommend doing this so you can ensure the template fits your design needs.
Go to Webflow’s Template marketplace and locate the template you want to test
Press the Preview in Designer button to open the template in the Designer in a new window
- Turn off preview by clicking the eye icon
- Click into the template’s Pages panel and Navigator to get an idea of the template’s included components and design structure
- Go back to the template’s page in the marketplace and press the Buy button to purchase the template if you like what you see
8. Choose a free template
Webflow’s Template Marketplace allows you to select the template that interests you. Click the Use for Free button to open your Dashboard. You can give your project a name, or you can use the default name provided.
Click the Create project button to open the Designer. To see the template-based projects in your Dashboard, open your Dashboard
9. Buy premium templates
Premium paid templates can be purchased to be used for one person, one business or one project. You can select and buy a premium template
Webflow’s Template Marketplace will help you find the best template for your project.
Click on the template’s landing pages to buy. You’ll be asked to sign up for a Webflow account, or log in to your existing account, if you are logged out.
Enter your payment information in the checkout modal. If you have previously added it, click “Edit credit cards” to edit your payment information. To complete your purchase, click the “Pay Now” button. After reviewing the payment confirmation, press Continue.
10. To add templates to a Team Account
Templates can also be a benefit to your team. Add purchased templates to your Team Dashboard. Use the purchased template to create a project in your personal account. Transfer the template-based project to your Team. (Learn more about how to transfer projects to your Team).
11. How to Import Webflow Template
TOnce you find the template you would like to use, scroll up to the top right of the dahboard and click the create website button. This will lead you to the webflow designer and thats where you will be able to design , style and add new content as if it was your own site. The right hand side of the interface will show you the current styling and classes used.
12. Export templates-based projects
To export a template-based project you will need to first purchase a paid plan and learn more about exporting code.


