

Introduction
Having your own ecommerce website will help you better understand your customers. You can then focus your efforts on traffic sources that bring in great customers to your business and invest more money into your products or service.
There are many eCommerce website platforms in the market, however, we’ve found the Webflow eCommerce store to be one of the most impressive.
In this guide, we will walk you through setting up your your eCommerce business on Webflow.
The Solution
Why Choose Webflow?
Webflow Ecommerce allows you to create and design your ideal website, customize your checkout and cart experiences, manage products, orders, and set up an online store that is fully functional without having to write a single line of code.
Before Your Get Started
Please remember to register your Webflow account. Only once you have successfully registered, you will be able to start building your ideal online store.
Webflow has very reasonable prices for setting up an eCommerce store. You will have to choose the business package. You have two payment options. You can either pay $36USD per month, paid annually, or $45 paid monthly.
This package will give you access to:
- 100 pages
- 500 000 monthly visits
- 10 000 collection items
- 2,000 monthly form submissions
- 400 GB CDN Bandwidth
- 120 RPM API requests per minute
- 10 content editors
Bear in mind that there is an Enterprise package too, for experienced businesses. This package would require a quote.
1. Building the Perfect Online Store
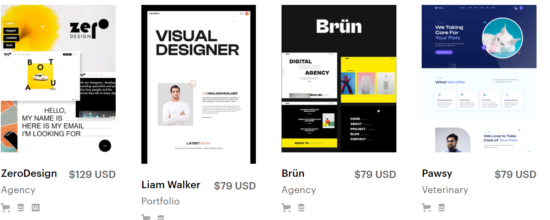
Webflow has a range of eCommerce templates for you to choose from. You can opt to either use these templates or start building one from scratch. Ecommerce will automatically be enabled for you if you select an Ecommerce template. You can choose another template, create a new site or modify an existing one by clicking on the Ecommerce icon in the left sidebar.

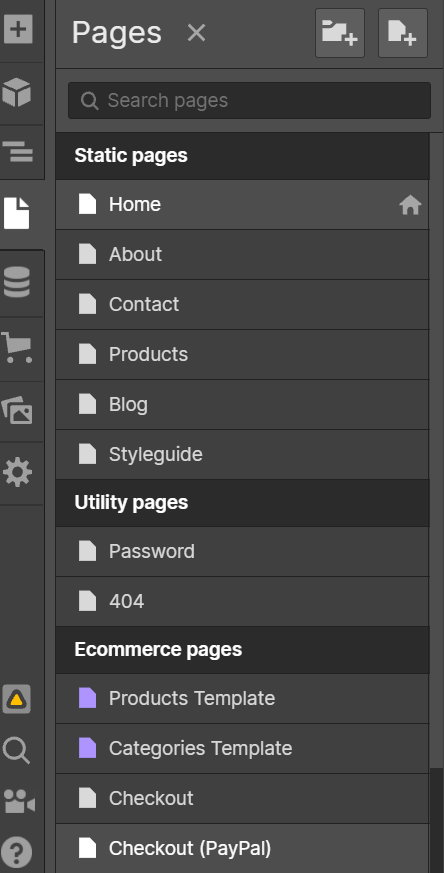
2. Exploring eCommerce Collections
Once you enable an eCommerce project, Ecommerce Collections will be automatically created. The Ecommerce panel in the left sidebar will display the two Collections, products and categories. These Collections can be edited to add or remove custom fields. You can then import or input products and categories to create your store database.
Remember that these are dynamic collections and work similar to any standard CMS. Although, these collections are more dynamic.
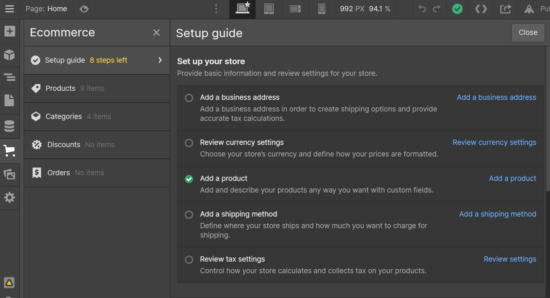
The setup guide will take you through all the steps you need to take to set up your account successfully as optimally as possible.
3. Adding Your Products & Categories
After you have updated your collection structure you can add products to your store and arrange them in categories. This can be done manually or automatically using Zapier.
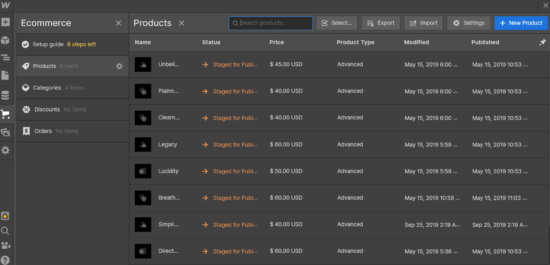
All you need to do is click on the + New Product button on the right-top-corner of your dashboard to start manually adding in your products. If you are using Zapier, you can import your product list onto the dashboard too. However, if you are adding products manually, you can add images, descriptions and pricing into your dashboard.
4. Designing your store
You have the same design options and flexibility as the CMS when designing your store. The shopping experience can be seamlessly integrated with your website. You can filter, limit, or paginate product lists and display them on your homepage.
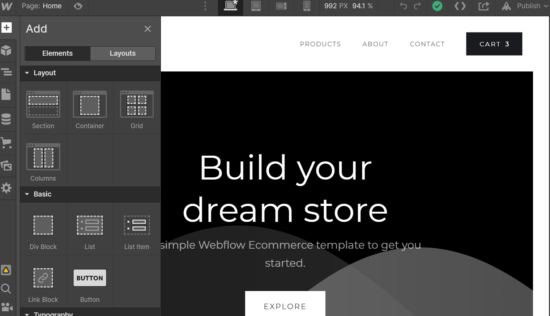
Here, you will be able to add and combine different design elements to build your layout. Including adding sections, columns, grids or containers. You can also choose to list products, build buttons or create link blocks.
5. Pages and elements
You can also create collection template pages for your products or categories. Additionally, you can customize the checkout experience by designing two Ecommerce utility pages: The checkout page and Order Confirmation page.
You will find that Webflow has plenty of options when it comes to styling your pages as you desire. This dashboard is very user-friendly, so you should find your way around the design tool quite easily.
6. Configure Your Settings
Unlike other CMS’s Webflow does not permit you to launch your store at the click of a button. You will need to configure your settings first.
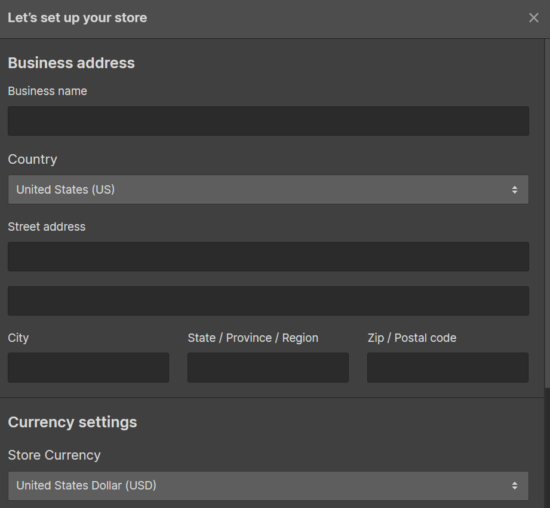
Add your business information and address. This will allow Webflow to create intelligent defaults for many other settings, such as currency, unit (imperial or metric), initial shipping area (store’s location), and initial tax settings. These settings can be modified at any time via the Editor or Designer.
Launch Your Site
Once you have configured your settings, added in your products and customized your design, you’re ready to launch your brand new online store!
On a later stage, you can even set up email campaigns for your online store and many other marketing strategies on Webflow.

