

Introduction
WooCommerce is one of the most popular, free, open-source ecommerce plugins for websites built in WordPress. It is ideal for small to medium sized online merchants using WordPress and allows you the flexibility of building out your ecommerce store with vast customization options. Which includes adding special widgets to display your products in the most attractive layouts.
You may be wondering how you can add WooCommerce to your Elementor template? Well, you can do this by using the JetWoo Builder, a top rated Elementor WooCommerce plugin. With JetWooBuilder you have access to over 66 widgets that are quick and easy to add to any of your product pages.
Here’s Why JetWooBuilder is the Best Plugin for Your Websites
- You can create custom templates: Assign custom templates to your pages.
- Layout switcher: Now it is possible for you to change the product view from Cards to List in the Products Loop widget.
- Shop-specific products: You can now pull data from the product content block and style them as you see fit.
- Carousels: You can now create carousels on your template.
- Category cards: You can now display your applied product attributes as a compact table.
The Solution
How to Add WooCommerce Widgets Using JetWooBuilder to Elementor
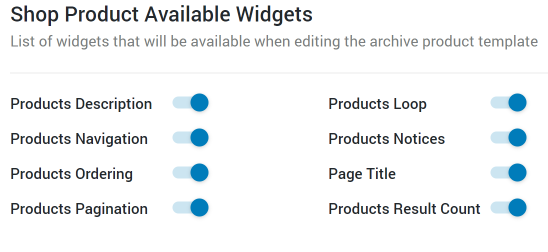
1. Activate Your Shop Widgets
Once you have installed your JetPlugins go to JetWooBuilder Settings and scroll down to Shop Product Available Widgets. Switch on the widgets you are interested in using for your Shop page template.
2. Create Your Template
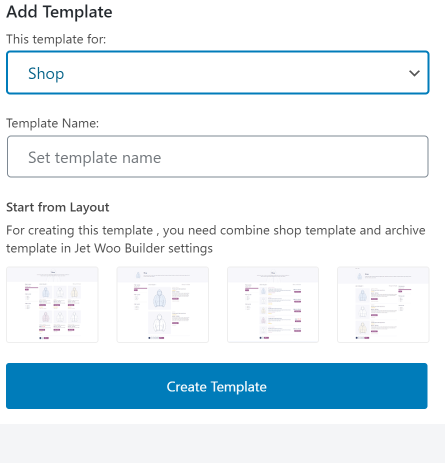
You can then go ahead to the JetPlugins tab, where you will find the Jet Woo Templates on the WordPress Dashboard sidebar. Then click the Add New Template button.

After clicking on Add New Template you will see a starting pop-up window. Then select the “Shop” option in This template for the drop-down menu and type in the Template Name. You can decide what to name the template. In case you get confused about the shop page layout, you can always choose a pre-set in the Start from layout section. If you are satisfied, proceed to clicking the Create Template button.
3. Fill the Shop Page with Widgets
`Now you can start creating a shop page template by filling up the page with widgets where needed. The shop template is used when you open one of your product category pages. It will show the elements you’ve included in the created template. You will have access to eight widgets available in the shop builder. This is how they will look:
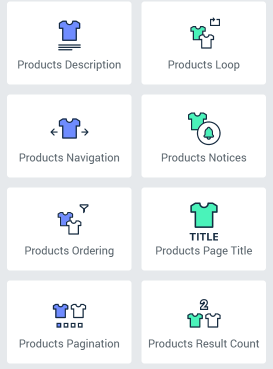
We’ll explain each widget below:
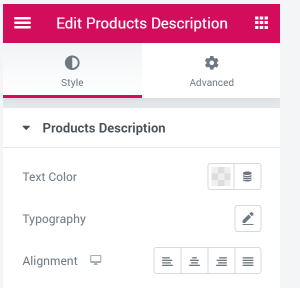
Product Description
The Product Description Widget displays the description you create for the specific category. You can customize this widget by choosing typography, alignment of text and text color in the Style tab.
Product Loop
The Product Grids widget will create a grid with a select number of products to the page. You are able to set this number in the settings. The Product List widgets work the same. However if you want to show the customer all the products from a category, you will need The Product Loop widget. This will allow your customers to see an endless loop of products. Customers will also be able to switch from a grid to a list view.
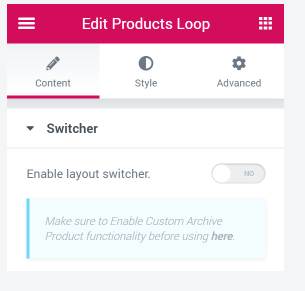
You will also be able to choose a template for a secondary layout and choose an icon and title for buttons. The main layout is a default grid layout. You can create a separate Archive Page template with the Product List widget. This will create a secondary layout.
Products Navigation
For ecommerce sites with a large amount of products, they should naturally be paginated. The Product Navigation widget adds controls that will allow your customers to navigate between the next or previous page. This widget can also be styled. You can choose an icon button and give it a title in the Content menu tab.
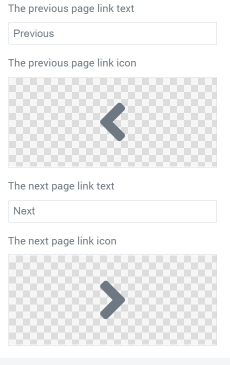
Please note that this widget will only work with main query objects.
Products Notices
The Product Notices widget is able to display a number of notifications to your customers. These notifications will be displayed on your custom shop page.
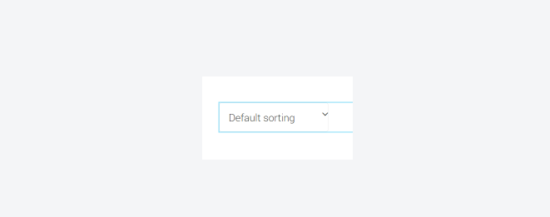
Products Ordering
The Product Ordering widget allows you to add sorting options to your page. You will be able to sort products by popularity, average rating and latest items and price. Your customers can then choose a type of filter in a drop-down menu.
Product Page Title
The Product Page Title widget displays the title of that category page. Please remember that the shop template is applied to a product category page.
Products Pagination
The Product Pagination widget allows your customers to surf through your product pages. It is quite similar to the Products Navigation widget. It only works with the main query object.
Products Results Count
The Product Results Count widget works well with the Products ordering widgets. It shows you how many of the filtering results are shown on the page You customize this widget too in the Style tab.
4. Assign Your template
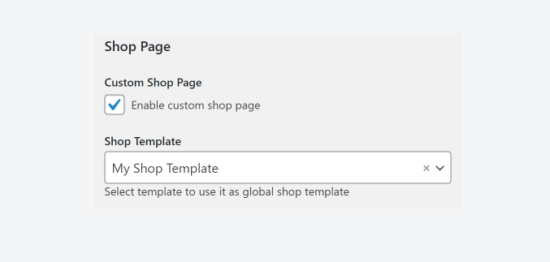
Once you have completed the layout and design, you can go ahead and click Publish. Then go back to the WordPress Dashboard. Once you’re there, go to the WooCommerce tab, then click on Settings and open the Jet Woo Builder tab. Proceed to the Shop Template drop-down menu and choose the title of the template you have now created. Then click Save Changes and you’re good to go!

