The Solution
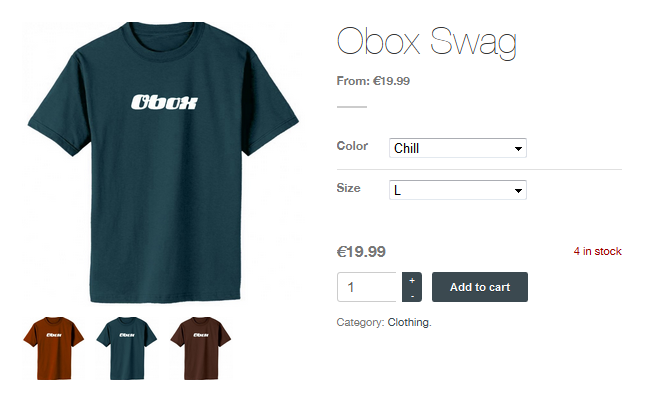
Variable products allow you to create a single product entry for multiple styles. This allows you to manage the product sales more easily. An example of a variable product is a t-shirt with a single design that comes in multiple colors and sizes.
For details on adding products in general, visit your theme’s documentation index.
This is the official WooCommerce extension ($99) that provides a customization screen for adding options to products. This plugin is compatible with any theme and fully supported by WooCommerce.
If you want to add additional costs to your product, without using variations, see this guide: How To Add Special Options With Additional Costs To Products
To setup a Variation:
1. You must select Variable Product from the dropdown at the top next to Product Data
2. Under Attributes, click on Add.
Note you can setup global variations to cut down on work under Products → Attributes and select them from the Add menu. Lear More about global attributes here.
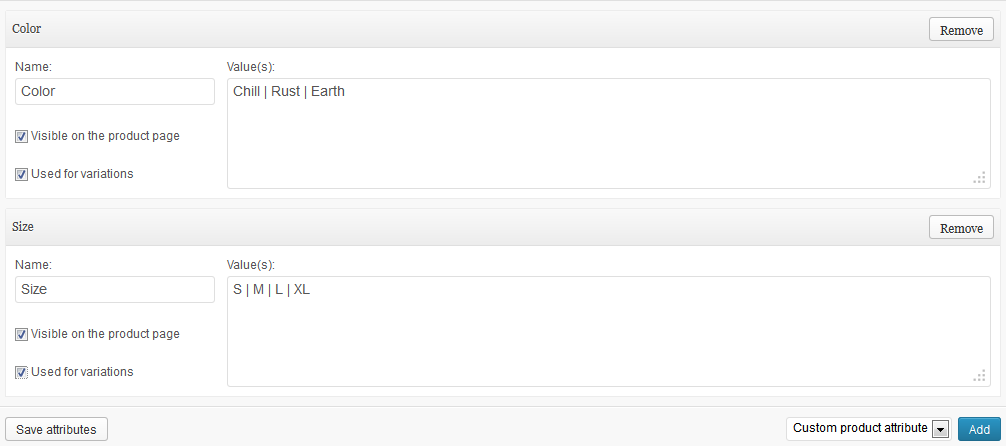
3. Add a Name and Value(s) for each Attribute. The Name corresponds to the drop-down menu that will appear in the product page, and the Values are what can be selected in that menu.
The following example shows how two attributes look for a t-shirt with 3 colors and 4 sizes.
4. Check Visible on the product page and Used for variations, and then click Save Attributes
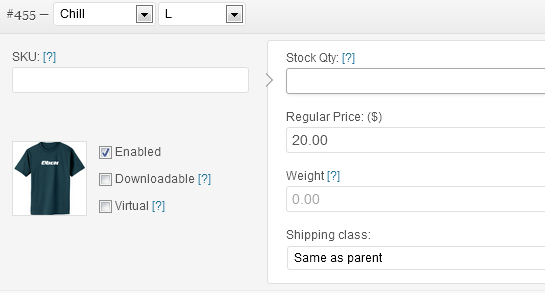
5. Under Variations, click Link All Variations, then click OK on the confirmation messages. You will now have one variation panel for each combination where you must enter a price and stock.
6. To allow the image to change when a visitor selects one of your variation combos, click the thumbnail button in the variation and upload the variation image, or select it from your media library. This function only works if your product post is displaying the single featured image (not a slider, and not the product gallery thumbnail grid, where supported)
6. When finished, click Update/Publish.
Learn more about Product Variations on the WooCommerce website.


