

Introduction

This tutorial covers the basics of creating text overlays on images as seen on our Store demo in the Product Category widget. For simplicity, it uses Pixlr, which is a free online editing tool.
The Solution
- Go to http://apps.pixlr.com/editor/
- Choose Open File from Computer
- Choose a photo that is at least 600px wide by 400px tall and Open
- If your image is larger than 600×400, click on Image Image Size and type 600 into the width box. The height should constrain automatically. Click OK
- Adjust the zoom to 100% in the preview at top-right or use your mouse-wheel to zoom in
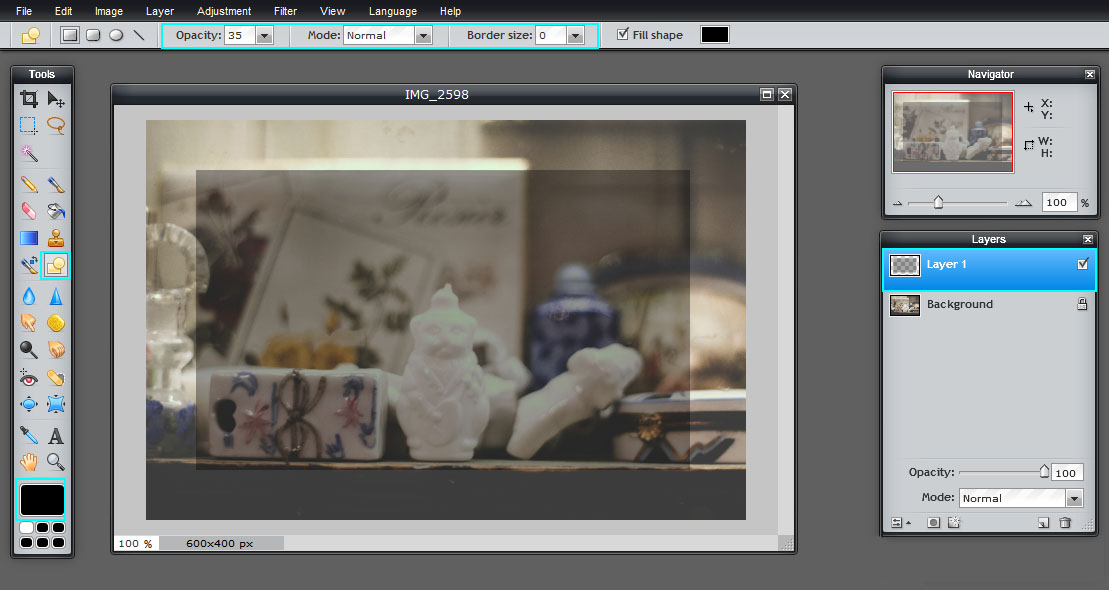
- Choose Layer → New Layer from the top menu. You should notice a new layer appear in the Layer box on the right.
- Select the Drawing Tool in the left-hand toolbar
- Turn the Opacity down to 35 in the tool options just below the menu bar and set the Border to 0.
- Click the color swatch block at the far right of the options bar to choose a color, if desired.
- Draw a rectangle in the center of your photo
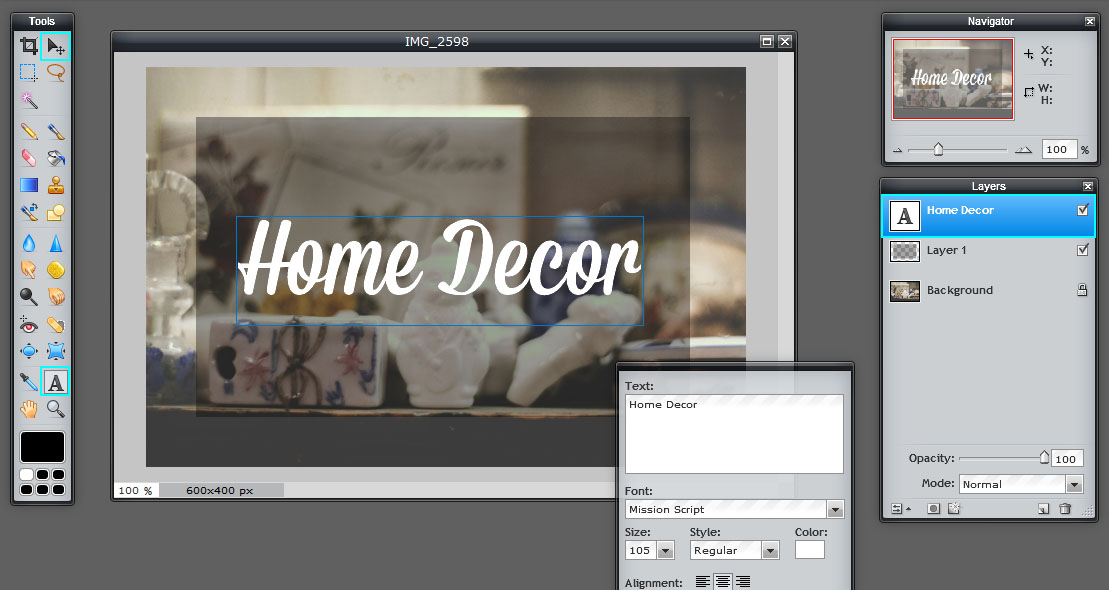
- Choose the Text tool in the left-hand toolbar and click where you want the text to begin. This will create a new layer for you and popup a little text box.
- Type your desired text, adjust the size and color, then choose a font and alignment.

- Fonts are loaded from your computer. You can test and download several free fonts at Google Fonts or FontSquirrel
- If you need to adjust the placement of your text, choose the Move tool (top right) and drag the text into position
- Choose Layer → New Layer from the top menu. You should notice a new layer appear in the Layer box on the right.
- Click the color swatch at the bottom of the toolbar (the black rectangle) and select a border color
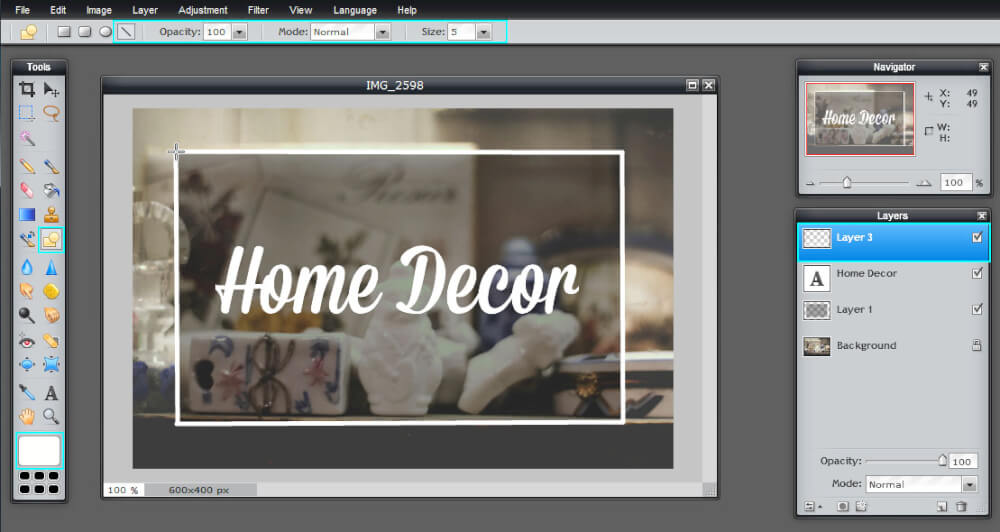
- Select the Drawing tool again
- Choose the line shape in the top options bar, set the opacity to 100 and the size to 5
- Draw a border around your semi-transparent box.
- That’s it! Choose File Save, give your image a name, then save it to an easy to find location.
- Set the image as your Product Category Thumbnail (Products > Categories) or your post or page Featured Image.
- For Product Category images, enable this image to appear at the top of your category archives under Theme Options in the Category Image option.

Have you seen Elementor?
You can build almost any Obox theme with Elementor!
With a powerful, fast page builder, Elementor is the best way to get your site online with as little effort as possible.

