Introduction
In this article we will look at how to use the “Cover Image” element in the new Gutenberg editor
The Solution
The Gutenberg cover image block allows you to add a cover image to your page or post which is essentially a full width image with a title overlay. Here is how we create it using the Gutenberg editor.
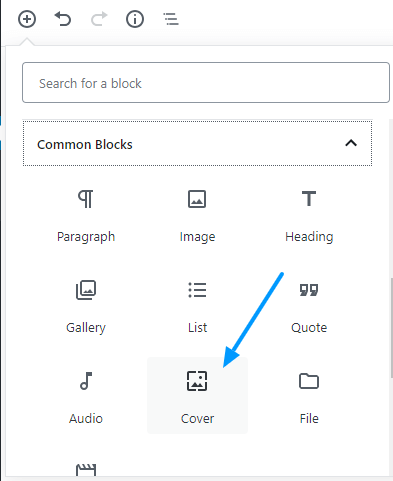
- Click on the +(add block) button and select the “Cover” element
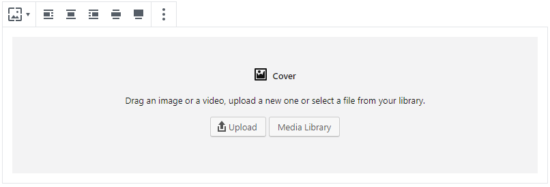
- As with other Gutenberg image blocks you can add an image to the element by simply dragging & dropping an image into the element, upload one from your computer or add one from your media library
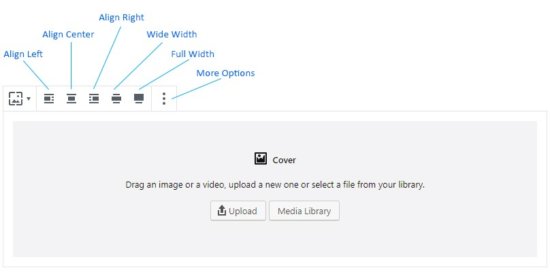
- The buttons above the text box allow you to set the alignment of the cover image element as well as whether you would like it to be wide width or full width
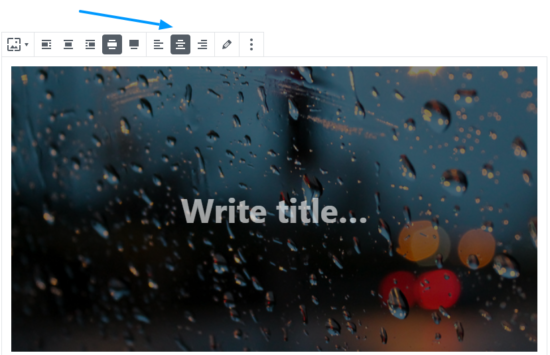
- Once you had added an image you will be presented with a few more options above the element
These options allow you to set the alignment of your text (left, center or right) and an edit button to change your picture or edit it’s details such as alt text and description
The left-hand window also gives you more options to control the appearance of you cover image. Here you can choose whether you want it to be a “fixed background” so that it stays in place whilst the reader scrolls down the page. You can also set the color and opacity of the background overlay


 These options allow you to set the alignment of your text (left, center or right) and an edit button to change your picture or edit it’s details such as alt text and description

