Have you seen Elementor?
Our flagship product, Layers has been acquired by the team at Elementor.
With a powerful, fast page builder, Elementor is the best way to get your site online with as little effort as possible.

Start by clicking on in the left-hand admin menu.
All Obox Themes come with some General options for setting a custom logo and favicon, showing or hiding post meta, and other customization options. Here we will explain each option:
General
Custom Logo
Favicon
 This option allows you to upload a favicon, which is the tiny icon displayed in the browser address bar when visitors view your site. The dimensions should be 16 x 16 pixels. Click on Browse to upload an image file from your hard-drive, or enter the URL of your image file if it is hosted elsewhere.
You can upload as many logos as you like and then simply switch to the one you prefer by clicking on the thumbnail. For best results, your favicon should be a .gif or 24-bit .png. You should not use a .jpg as it will probably not display.
This option allows you to upload a favicon, which is the tiny icon displayed in the browser address bar when visitors view your site. The dimensions should be 16 x 16 pixels. Click on Browse to upload an image file from your hard-drive, or enter the URL of your image file if it is hosted elsewhere.
You can upload as many logos as you like and then simply switch to the one you prefer by clicking on the thumbnail. For best results, your favicon should be a .gif or 24-bit .png. You should not use a .jpg as it will probably not display.
Site Header
Display Title: Select whether to display the fade-in post-title in the header when the single post view is scrolled.
Display Tagline: Select whether to display or hide your website tagline if using a text site title. To modify your title and tagline go to the → area in WordPress.
Custom image logos override the text title regardless of this setting.
Menu Label: Set custom text for the menu button. Default is “Menu”.
Show Excerpts?
Select whether to show excerpts in the post blocks on the list pages by selecting your choice from the drop-down.
Post Meta
The Post Meta section allows you to enable (check) or disable (uncheck) various elements that appear on your posts and blog.
- Date – Uncheck to hide the date.
- Tags – Uncheck to hide the tags
- Category Link – Uncheck to hide the category.
- Author Link – Uncheck to hide the author link in home page and archives
- Show Author Block on Posts – Uncheck to hide the author info at the end of posts
- Next & Previous Posts – Uncheck to hide the next/previous post links on single posts
- Related Posts – Check this option to show related posts at the bottom of your single posts (displayed with featured images in 3 columns below the comments, related posts are determined by common tag)
Page Meta
The PageMeta section allows you to enable (check) or disable (uncheck) various elements that appear on your pages.
- Date – Uncheck to hide the date.
- Author Link – Uncheck to hide the author link in home page and archives
- Author Info – Uncheck to hide the author info at the end of posts
Click Save Changes and click the Footer tab
Footer
Show Footer
The footer is the bar at the bottom of the page containing the copyright etc. Select No here if you want to hide the footer completely. Default is Yes.
Footer
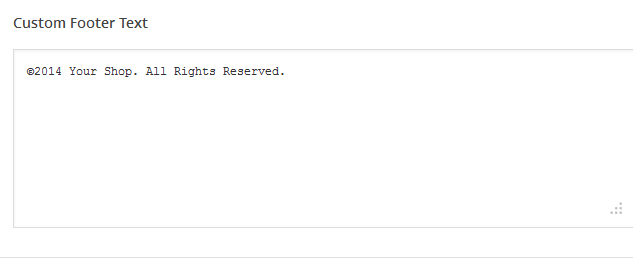
Custom Footer Text
This section gives you some control over the copyright area of the footer. You can put simple HTML in this field such as links or small images.
Hide Obox Logo
All of our themes come with an Obox Logo at the bottom right of the footer. To switch this off, simply uncheck the box (although you get extra awesome points for leaving it on!)
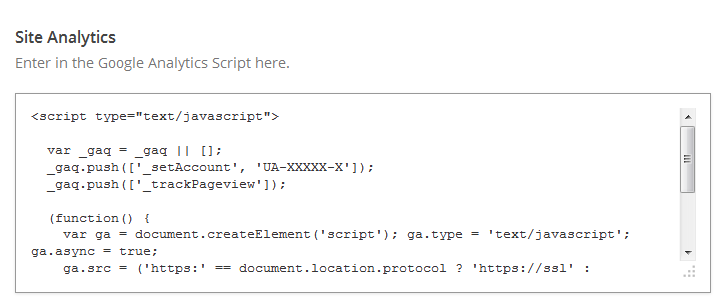
Site Analytics
If you would like a quick and painless way to implement Google Analytics, paste your preferred tracking code into this text area. Your code will then be inserted into the footer of the theme, which is best for performance reasons. Learn more about Google Analytics here.
Click Save Changes and proceed to the Social tab
Social
This section allows some customization of social sharing for your posts
Social Sharing
Toggle social sharing to Facebook, Twitter and Google+ on Posts or Pages.
Select No to hide the Share menu if you plan to use a different sharing plugin, or the scripts may conflict and cause issues for your comments or related posts.
Social Widget Code
To add social sharing to your Posts and Pages, you may use any sharing plugin you wish. These plugins typically place the sharing buttons at the beginning or end of your content. If you want add social sharing to your posts or pages without using a plugin and have them appear in the theme location, visit your favorite social widget site such as sharexy.com, addthis.com or sharethis.com, then copy/paste your customized code here.
Facebook Sharing Options
This option allows you to disable the theme's OpenGraph support if you are using a plugin that duplicates the feature and does not allow disabling it. If left on, you may set a default site image for Facebook to use if it cannot find a featured image on the page or post being shared. Your image must be at least 200px by 200px. View this article for more on Facebook OpenGraph and how it works in your theme.
Customization
Custom RSS URL
Enter the URL to your custom feed, such as Feedburner if you have one. If left blank, the default WordPress RSS URLs will be used.
Custom Styling
This field allows you to enter any Custom CSS overrides used to customize the theme beyond simple color changes. Add any styles from the style.css or create your own here. Content in this field is saved to the database, so you won't lose changes if reinstalling the theme.
Custom typekit Scripts
You may integrate Typekit fonts into the theme for use with Custom Styling by pasting the code from Typekit here.
If you wish to add additional Google Font support to the theme, please download and activate the WP Google Fonts plugin
Save your options by clicking the Save Options button in the top-right or bottom-right corner.
The Writer 1.2.3 or higher includes current support for WordPress.com’s Jetpack plugin Infinite Scroll module. This will enable an “Older Posts” button at the bottom of your post count that users click to load more on the same page. We use click to load rather than scroll to load for the following reasons:
- Page load – scroll to load can put a significantly higher load on the page, making it slow for mobile users, as each of your posts is displayed using an HD book cover and must make a query to the database. This can negatively impact your page rank in search engines.
- Scroll to load is not compatible with some mobile devices at all
- On sites with hundreds of posts, scroll to load can cause broken layouts or simply stop loading posts if the cache limit is exceeded for the user’s device or browser.
Please use caution with enabling other modules in Jetpack, which may not be compatible with The Writer. Once Jetpack is activated and you enable the Infinite Scroll module, there is no separate configuration or setting within the Writer that you need to set.